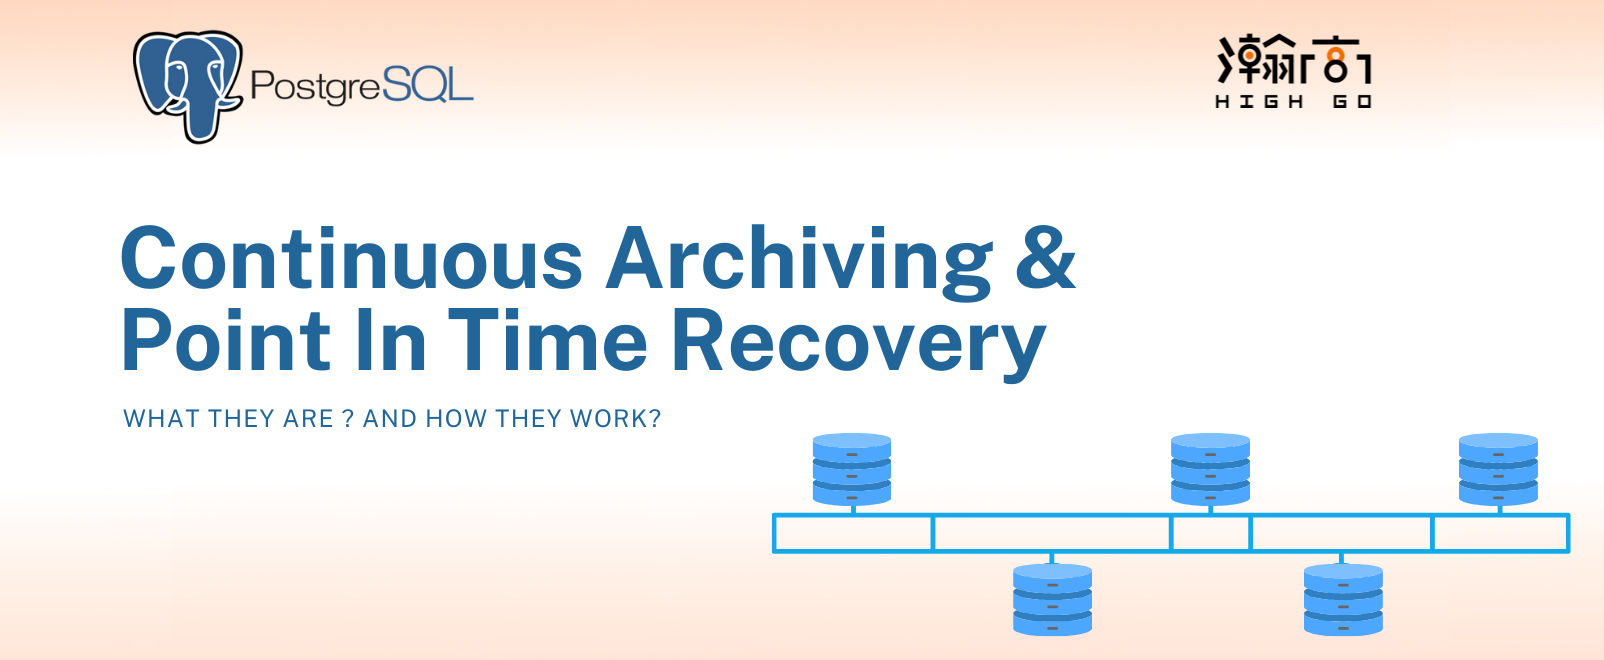
1. Introduction
Recently I have been practicing the internals of PostgreSQL continuous archiving and the point in time recovery features that are required for my current development work. Today I would like to demonstrate these important features with the recently released PostgreSQL 14 on Ubuntu 18.04.
2. Write Ahead Log?
Before going into the details of continuous archiving, it is important to understand the concept of Write Ahead Log (WAL). WAL files are generated by PG that contains all of the operations done on the database since the beginning. Operations such as INSERT, UPDATE, DELETE, VACUUM …etc are captured in WAL files. Having these WAL files, it is possible to recreate the database simply by replaying them, allowing an user to recover the database to a certain state in case of fault. This is the basis of continuous archiving and point in time recovery.
3. What is Continuous Archiving?
The generated WAL files are normally stored in the pg_wal directory within the PG database cluster, but they will not grow forever. The configuration parameters, max_wal_size and min_wal_size control how many WAL files can be kept in pg_wal directory. The checkpointer process will periodically purge the old WAL files, leaving only recent ones.
So, it is important to set up continuous archiving so all these WAL files can be archived to somewhere else outside of PG cluster. So, when you need all the old WAL files for recovery, PG can restore them from the archive.
To enable WAL archiving and restoring, set these parameters in postgresql.conf:
archive_mode = on |
where you should replace /path/to/archive with your own archive path on your system. %p and %f will be swapped with path to WAL segment and WAL segment name to complete the command.
When a WAL segment is ready to be archived, PG will create a signal file in pg_wal/archive_status to indicate a particular WAL segment is ready for archive.
In the example below, the segment 00000001000000000000000E is ready for archive, indicated by the postfix .ready while all of the previous segments have been successfully archived and therefore indicated by the .done postfix.
$ ls pgtest/pg_wal/archive_status/ |
The PG’s archiver process will then be waken up to perform the archive by running the archive_command configured.
$ps -ef | grep postgres |
Note that the archiver (PID=1520) also shows its progress on the ps display.
When done successfully, the signal file in pg_wal/archive_status will be updated to .done postfix.
$ ls pgtest/pg_wal/archive_status/ |
In the next checkpoint, these .done files will be removed so these status files will not be continuously growing as well.
4. What is Point In Time Recovery (PITR)?
Having all of the WAL segments backed up in a separate archive, we gained the ability to recovery the database up yo a certain point in time in the past or completely recover the whole database. This depends on your use case, if you made a major mistake and need to start again from a point of time in the past, you can have PG to recover to that particular time during recovery mode and continue the database operation from that point. This is also referred to as switching to a new time line ID and we will discuss this more in the next blog.
Let’s continue from the above example (which already has 1 million rows of data) and do a point in time recovery.
Make a basebackup of the current database, we can use
pg_basebackupto achieve this$ pg_basebackup -U caryh -h 127.0.0.1 --progress -D pgtest-back
back to the database and continue inserting some more data, use
pg_switch_walto immediate write out the WAL segment and obtain aLSN. LSN stands for Log Sequence Number, and it logically represent a WAL entry within a WAL segment. Refer to documentation here for more information.
After obtaining the LSN, we again insert some more rows of data.
insert into test values(generate_series(1,1000000), 'asdas'); |
So, in total, this table test should have 5 million rows of data, because it started with 1 million and we just inserted 4 million more in the example above.
The WAL location indicated by LSN 0/13DAC308 indicated a time when the database only contains 3 million rows, and this is the point of time that we would like to recover up to in our example.
Stop the database server
pg_ctl -D pgtest stop
Wipe out everything in this database
pgtest
$ rm -rf pgtest/ |
I know it sounds crazy, but remember, we made a basebackup back in (1.) + all the WAL segments in the archive, so technically we still have everything.
- Copy everything from our basebackup back to
pgtest
cp -r pgtest-back/* pgtest/ |
- Edit pgtest/postgresql.conf and set your recover target
Since we are using LSN as our target, we can simply put the LSN we captured to recovery_target_lsn configuration
recovery_target_lsn = '0/13DAC308' |
PG also supports other ways to define recovery target, based on timestamp, name or xid. Refer to this documentation for other options.
- Signal the database to run in recovery mode by creating a
recovery.signalfile under thepgtestcluster
$touch pgtest/recovery.signal |
- Start the server
$pg_ctl -D pgtest start
the server will now start in recovery mode and it will restore WAL files from the archive and perform the recover. You may log in with psql and check that the database should contain also 3 million rows instead of 5.
You may notice that even though the database has been recovered to a point of time in the past, you will encounter a database in recovery or read only database error if you intend to insert additional data. This is because we are still in the recovery mode but is currently paused.
This is configured by the recovery_target_action option, which defaults to pause. This is actually intended, to allow you to have a moment to check your database and confirm that it is indeed the database state that you would like to recover to. If this is wrong, you can simply shutdown the database and reconfigure the recovery_target_lsn until you reach a desired state of database.
- Exit the recovery mode
Once you are confirm the database is recovered correctly, you can exit the recovery mode by this psql command:select pg_wal_replay_resume();
This command will end the recovery mode and you should be able to insert additional data to the database. The recovery.signal file will be removed, and the future WAL segments will have a new timeline ID.
Timeline ID is also an important aspect of the recovery and we will discuss more on timeline ID in my next post.